How To Draw A Vector iPhone In Illustrator
I wanted to follow up on the series I wrote a couple of weeks ago about the drawing tools in Illustrator. Using mainly vector shapes and some gradients, I’m going to create a vector drawing of an iPhone in Illustrator. The joy of creating it as a vector is that once you’ve drawn it once, you can reuse it, and scale it up and down without any loss of quality. Let’s get started.
1. Start a new document in Illustrator. If the vector is going for print, choose CMYK and a high resolution of 300 ppi. Otherwise choose RGB.
Set the stroke colour to black and the fill to none.

2. If you don’t own an iPhone (I don’t), then you’ll need to look at a picture of one while you draw. Copy and paste an iPhone image into Illustrator.
3. We’re going to draw the shape of the phone using the rounded rectangle tool. Select it from the toolbox and then click once so the rounded rectangle tool dialog box appears. The first rectangle will be 433px wide, 795px high and will have a corner radius of 45px. Click Ok.
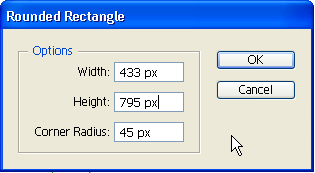 <
<
A rectangle appears on the artboard.
4. Repeat step 3 twice more with the following dimensions:
- 398px wide, 763px high, corner radius of 40px
- 386px wide, 749px high, corner radius of 35px
You should now have three rounded rectangles on the artboard, something like this;
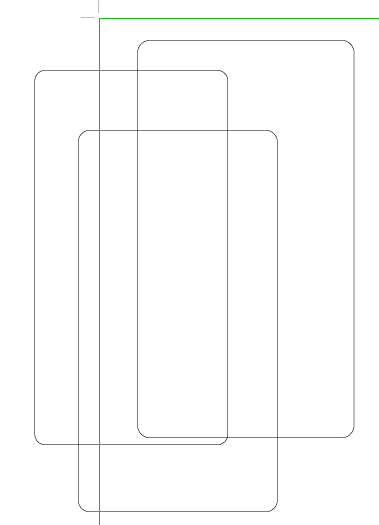
5. To line them up correctly, select each rectangle by holding down Shift and selecting them with the Selection tool (V). When more than one object is selected, the options bar displays the alignment options. Click on the Align Horizontal Centre icon and the Align Vertical Center icon.
![]()
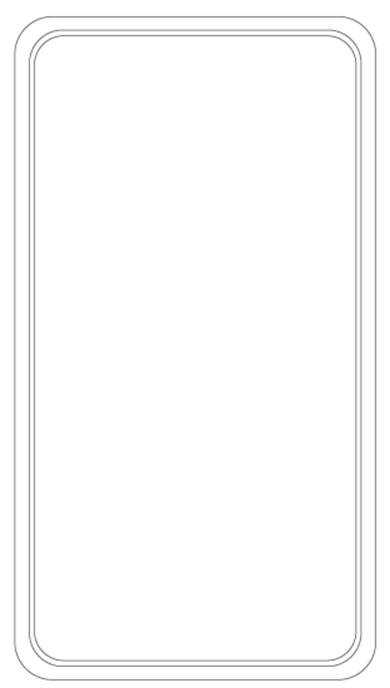
Your rectangles should now be nicely lined up.
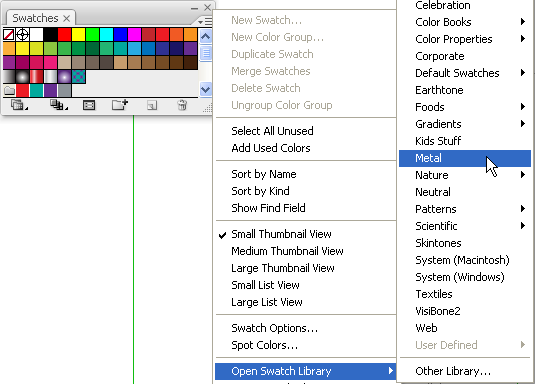
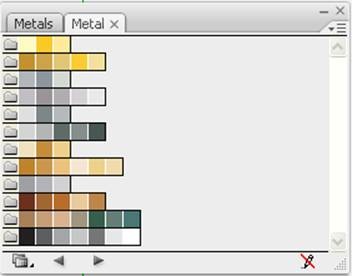
6. On the Swatches palette menu, choose Open Swatch Library > Metal to open up Illustrator’s Metal color palette.
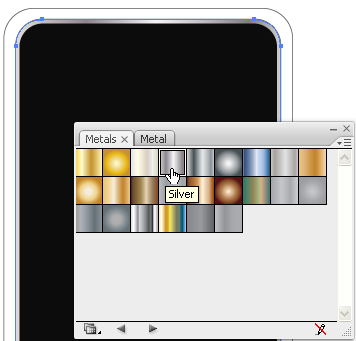
7. While we’re at, again choose Open Swatch Library > Gradients > Metals.
9. Select the inner rectangle, and set the fill colour to #090909.
10. Select the middle rectangle, and set the Fill to the metals gradient called Silver. Then set the Stroke to None.
11. Select the outer rectangle and set the Fill color to Dark Grey (it’s in the last row of the Metal Swatches), or just choose your own dark grey. Again, set the Stroke to None. So you should have something like this:
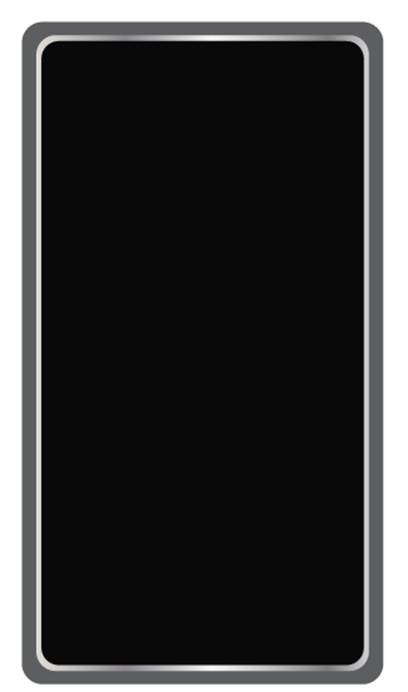
If you squint really hard, it looks a bit like an iPhone. Ok, It’s a bit flat, so we can use the Mesh tool to make the dark grey outer rectangle look more realistic.
12. In the layers palette, hide the inner and middle rectangles.
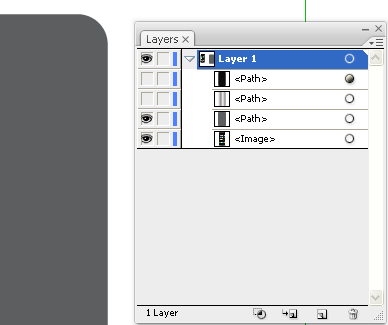
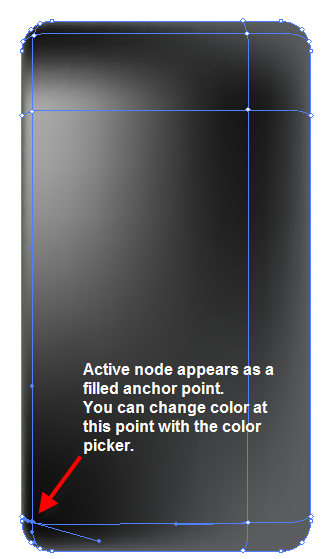
13. Select the Mesh Tool (U) from the tool box.

The Mesh Tool lets you create a mesh on an object to manipulate the colors and transition smoothly from one point to another.
14. Click in the top left corner to add a node. Then click on the color picker and choose a darker grey colour.

When you have a node selected and then change the colour with the colour picker, Illustrator creates a very smooth blend from one colour to the next. This gives you much more control than just using the Gradient tool.
15. Add more nodes with the Mesh tool, and as you add them, vary the colour between light and dark greys to give the impression of glossy chrome.
Spend a good bit of time working on the mesh, and zoom right in so that you can see what you’re doing. You can add as many nodes as you want.
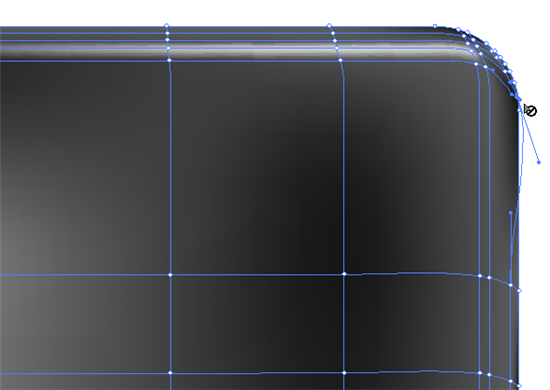
16. When your’re happy with the glossiness of the outer rectangle, turn on the visibility of the other two rectangles.
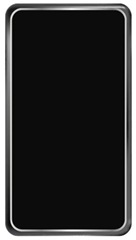
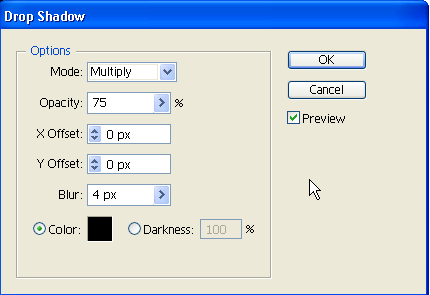
17. Select the middle rectangle. It’s still looking a bit flat, even with a gradient, so we’ll add a subtle drop shadow behind it. Choose Effect > Stylise > Drop Shadow and add the values shown below.
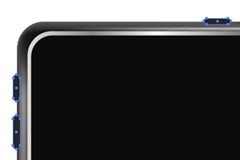
The phone has a number of small buttons on the edge. We can add those using another rounded rectangle, set to match the colour on that part of the phone. The buttons will appear on top of the phone, so select them and then choose Object > Arrange > Send To Back to make them appear more realistic and not stick out so much.
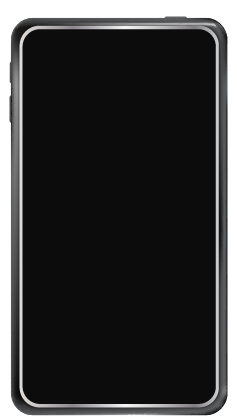
18. Now the screen needs a few details and effects. Select the rectangle (not the round one), set the Color Picker to a very dark grey Fill, with a lighter grey Stroke of 1px. Now draw out a rectangle.
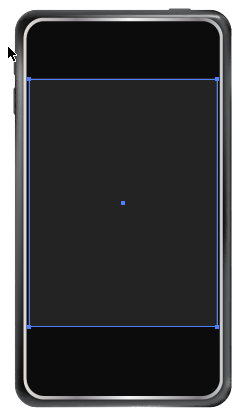
19. The “earpiece” can be drawn in a similar fashion using the Round Rectange tool. This time add a slight gradient of dark grey to black to the Fill.
20. To create the main button, use the Ellipse tool to draw out a circle with a light grey to black gradient and Stroke set to None.
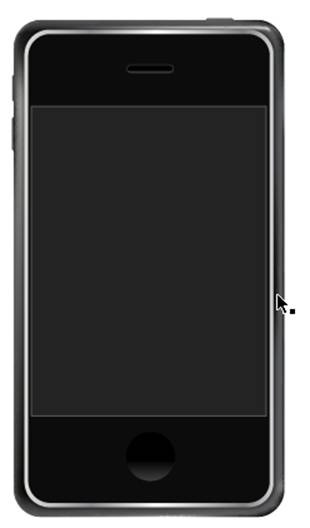
To complete that button, draw another rounded rectangle with no Fill and a white Stroke of 1px.
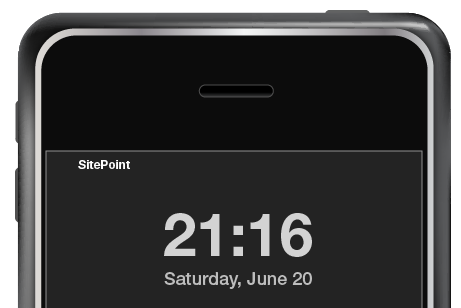
21. The font for text on the phone is Helvetica, if you don’t have that, Arial is pretty close. I’m adding the time and date and the service provider on the screen:
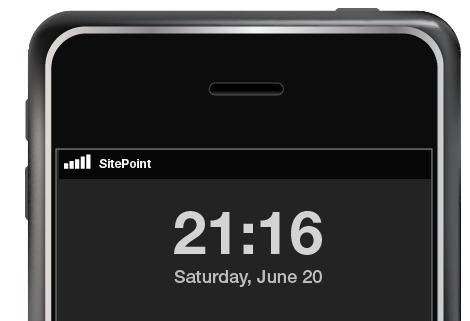
22. To add signal strength, it’s back to the Rectangle tool, then draw out five little boxes, and behind that add a strip of black.
23. The time and date also sits on a semi-transparent gradient, so draw out a black rectangle, and send it backward so it sits behind the text. Then select the Gradient and set up your palette as below. The using the Gradient tool (G), drag down through the black rectangle.
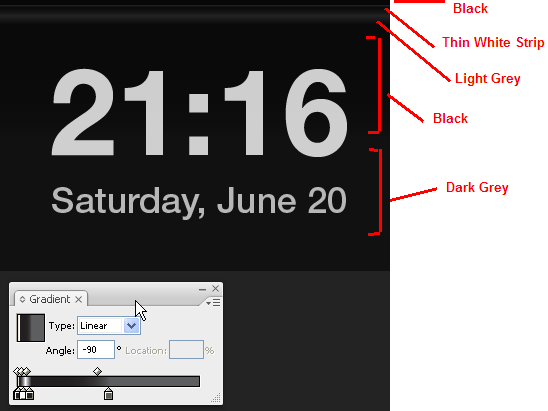
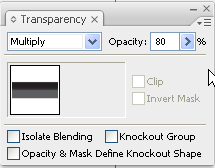
Once you’ve applied the gradient, set the rectangle opacity to about 75 – 80% and set the blending mode to Multiply. (Blending modes are on the transparency palette in Illustrator).
This is how the phone looks now:
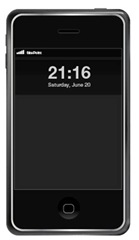
At this stage, you could of course, add some wallpaper, but I’m leaving the phone with the dark screen.
24.Using the ellipse tool, draw a shape with a white fill at the bottom of the phone. Then on top of that, draw a second smaller elliptical shape in black. Select both shapes, then choose Object > Blend > Make to create a subtle blend.
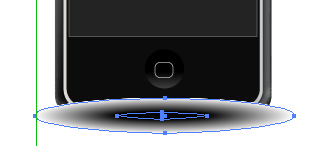
25. To complete the drawing, send the blend to the back by choosing Object > Arrange > Send To Back. The final vector looks like this.
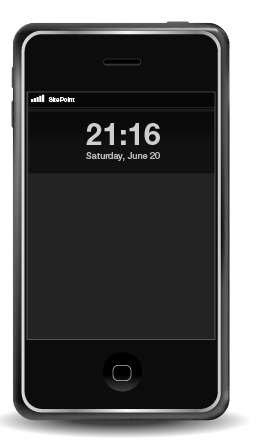
There were quite a few steps in this, and it does take a bit of time, but most of the tools used for drawing here are the fundamentals, spiced up a bit with the mesh and gradients. We could certainly continue to add things like reflections on the screen and more icons. I think your own iPhone vector is a useful thing to have and if you draw your own you can add all sorts of icons and embellishments.

